- Thu 31 October 2019
- Field Reports
- Santiago Triana
- #field-reports, #guest-author, #outreach, #research, #international, #barbasoloscope
[Note from Spencer: This post is part of our ongoing Field Reports series, where DIYnamics users across the country —- and in this case, the world(!) —- share how they’ve used the DIYnamics kit and materials in their local communities.]
Visualizing wind shear in the lab planet by slightly changing the rotation rate using the Lego IR remote.
Our group at the Royal Observatory of Belgium studies the dynamics of fluid layers inside rotating planets and moons. It is very difficult to imagine the kind of complex flows that we deal with. To help us with that, we built a miniature model of a fluid planet in our lab. Rotation is of major importance in the study of planetary fluid dynamics. With our lab planet, we wanted to visualise at least qualitatively how the fluid flow changes when the rotation speed varies in time. We needed our ‘planet’ to be as transparent as possible and we also needed a way to control its rotation with some level of precision.
Closeups of the components of the lab planet: (first image) the base and bearings, (second image) the acrylic globe.
We set to work building our lab planet using a 14” diameter acrylic globe, the same kind as used for outdoor lighting. We used an aluminium disc as a rotating platform mounted on a spherical ball bearing, all resting on a PVC stand. We still needed a way to control the rotation and that was when we heard about DIYnamics and thought it would be a perfect match for our purpose!
A beautiful wave-2 pattern has emerged in this video. Wave-2 means that the wave pattern that circles the globe has (roughly speaking) two peaks and two valleys.
In the past, in order to visualise the currents in fluids, scientists used Kalliroscope fluid, a rheoscopic fluid developed by Paul Matisse in 1966, unfortunately not available anymore. We considered mica powder and other alternatives that ended up being not so great compared to Kalliroscope fluid. However, Daniel Borrero-Echeverry from Willamette University devised an ingenious way [1] to get the same rheoscopic effect as Kalliroscope, simply using shaving cream! We were able to obtain large quantities of rheoscopic fluid, about 22 kg (or 48 pounds), which we used to fill the acrylic globe. The technical service from the observatory helped us with the machining of the aluminium disc platform. The globe is simply glued (with RTV) to the aluminium disc. We made a threaded hole through the centre of the disc which we use for filling/draining the globe.
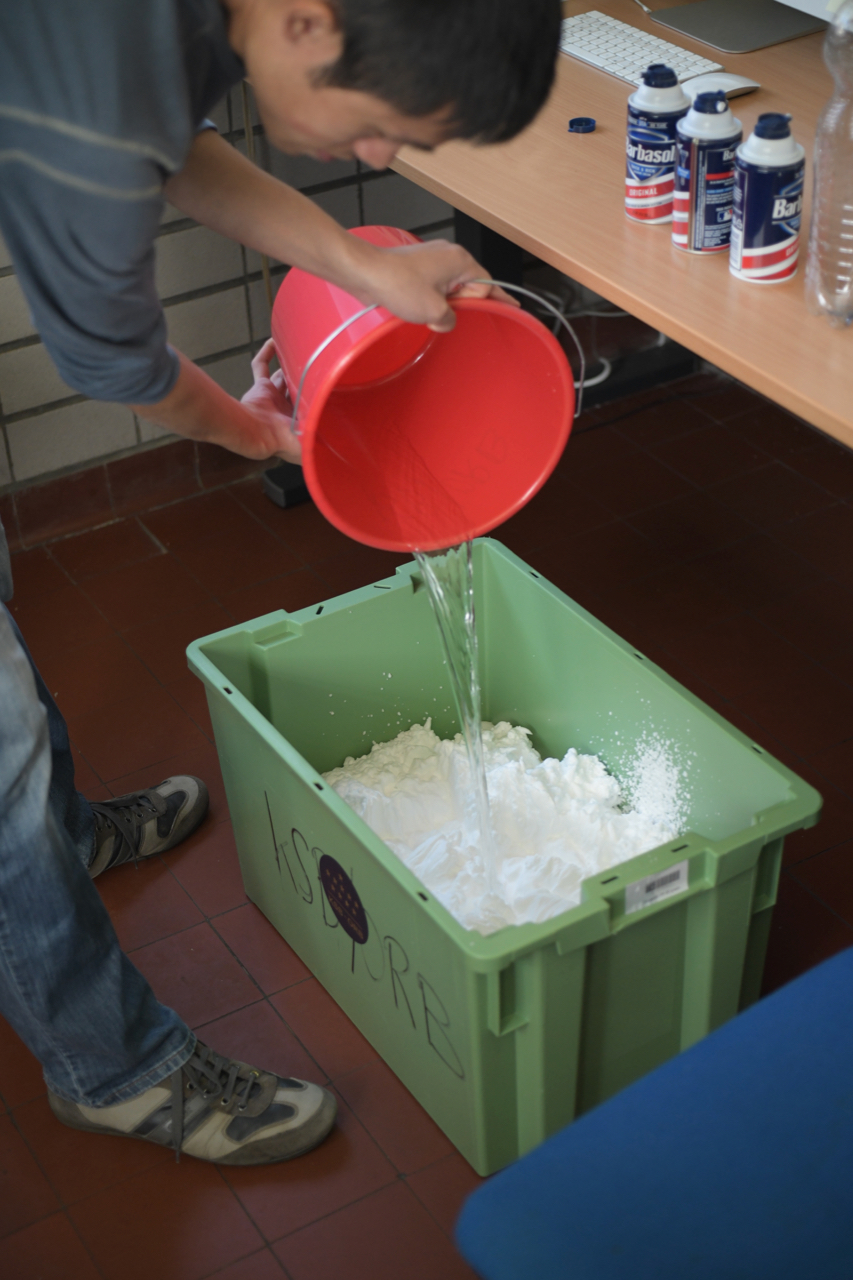
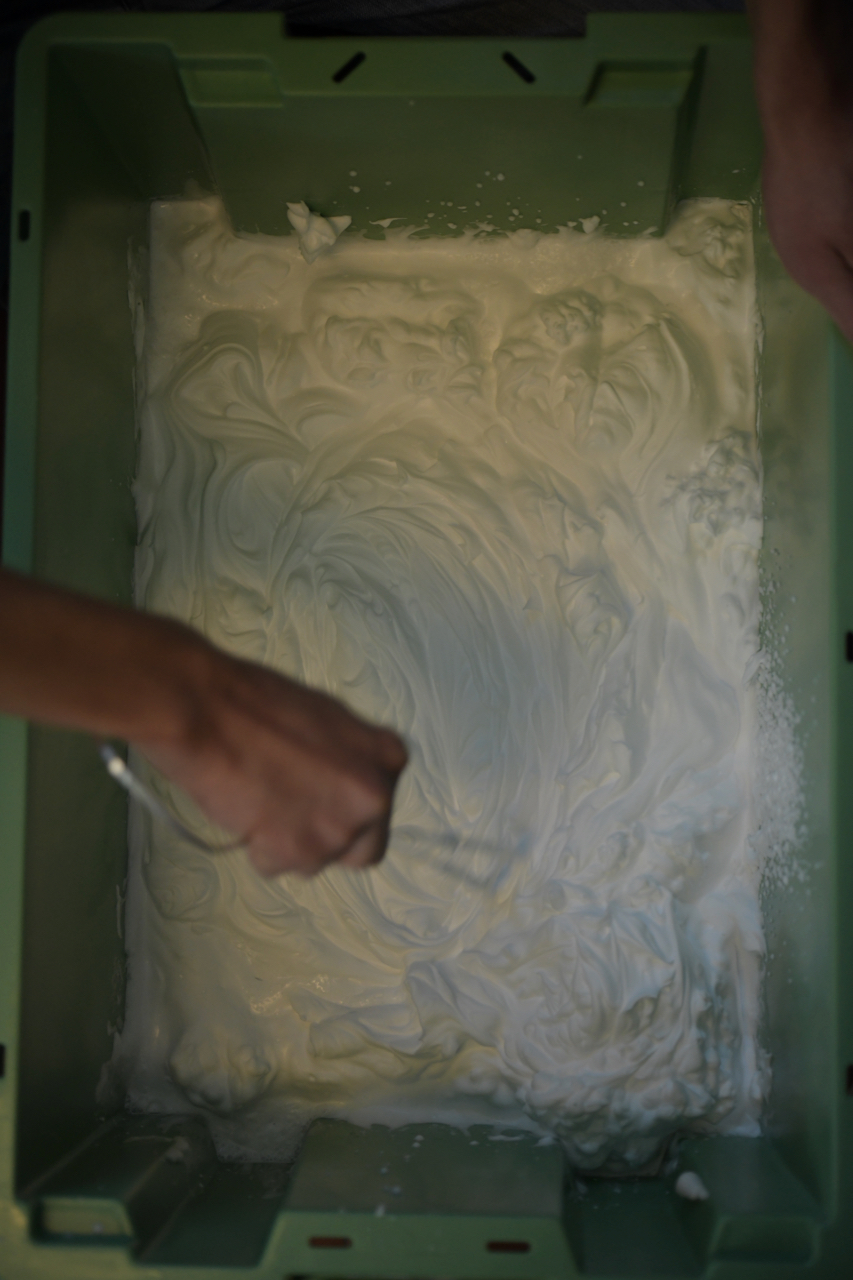
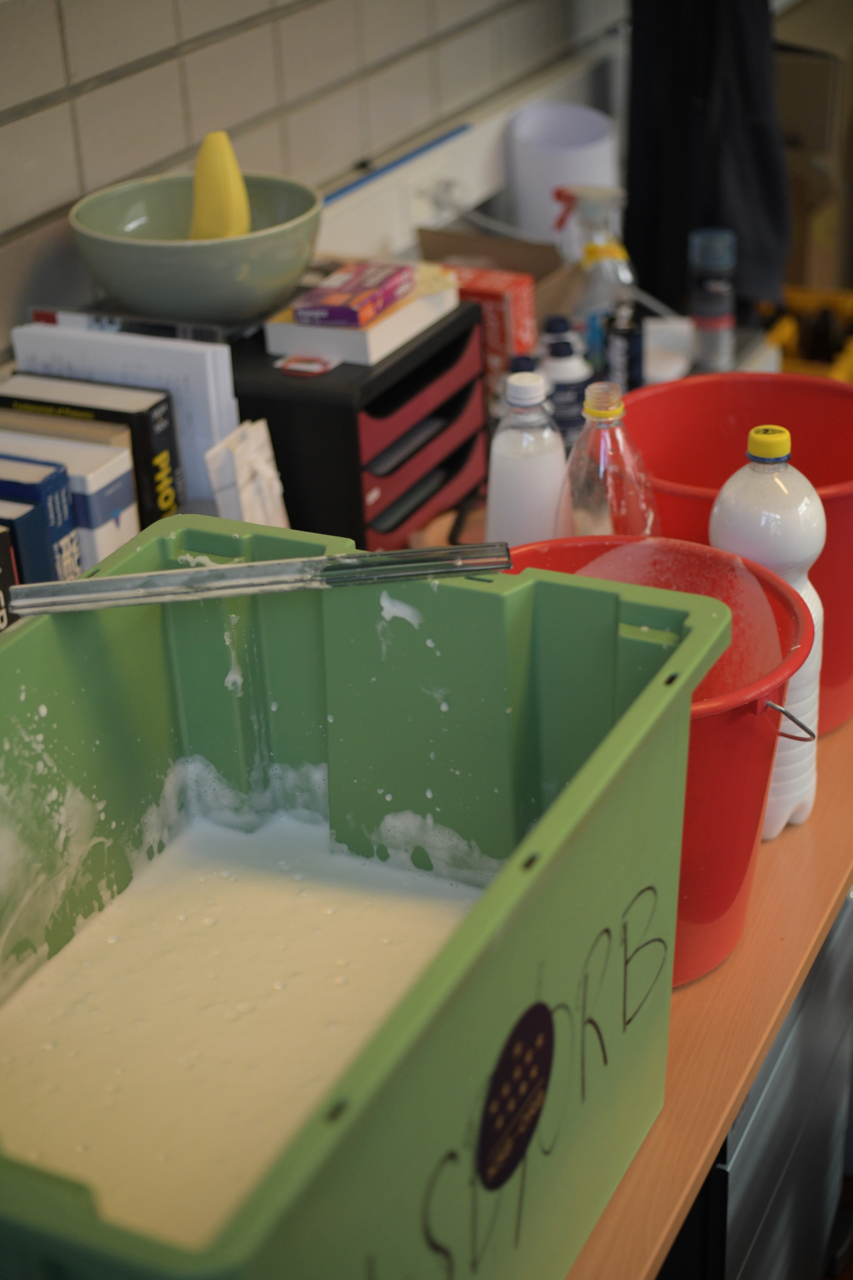
Making Barbasoloscope in four easy steps (with pictures ordered left to right then top to bottom): (1) dispense the Barbasol, (2) add water, (3) mix, (4) let rest. (There’s a little more to it after that. See this DIYnamics YouTube video for more.
Our setup is very close to the traditional DIYnamics except we don’t use the Lazy Susan platform. We use the motorised lego wheel to drive the rotation via the aluminium disc platform. The lego motor is powerful enough to spin the whole device! Mesmerising flow patterns appear when the spin rate is changed slightly, which we do via the IR remote. In the videos you can hear the motors whirring and change pitch as we slow down or spin up the globe, you can see clearly the shear in the flow caused by the accelerating/decelerating globe surface in contact with the fluid.
Close up video of the DIYnamics Lego motor modified to drive the lab planet rather than a Lazy Susan.
If we let the globe spin for a while at a constant rate, the fluid will eventually spin at the same rate as the globe, in sync, with no or very little flow in the interior as indicated by the absence of any patterns in the fluid. This might take 5 to 10 minutes to achieve. If we reduce the speed of the globe just a notch, turbulence will develop straddling the equator, induced by Görtler vortices most likely. However, if the fluid is still not yet spinning in unison with the globe surface, turbulence develops within a very well defined band, which we can see in the videos. We can’t claim we understand all features we see in the flow but we do recognise many, some of the them resembling patterns we see in Jupiter, Saturn (think of the polar hexagon), or the Earth’s atmosphere.
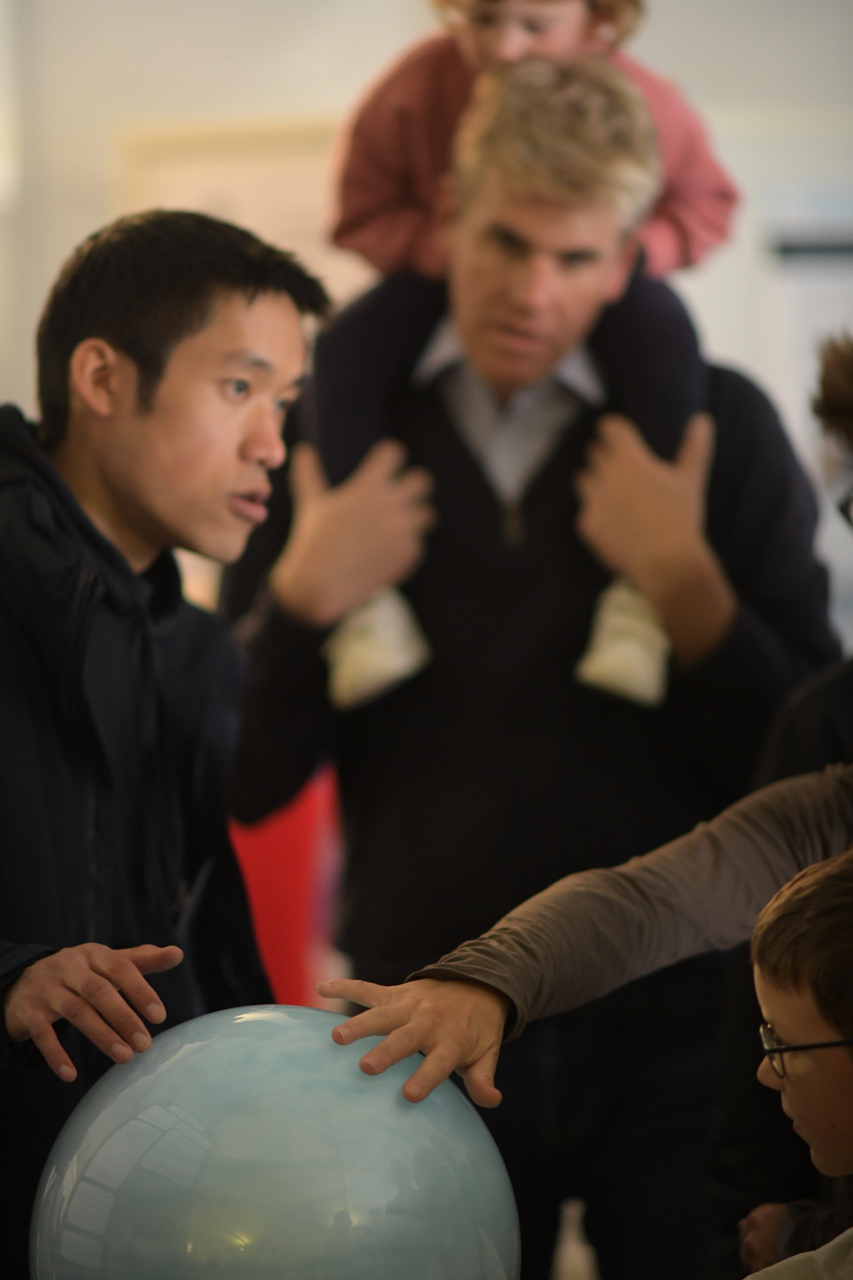
Teaching with the lab planet at Open Door Day at the European Space Agency centre, Noordwijk, the Netherlands.
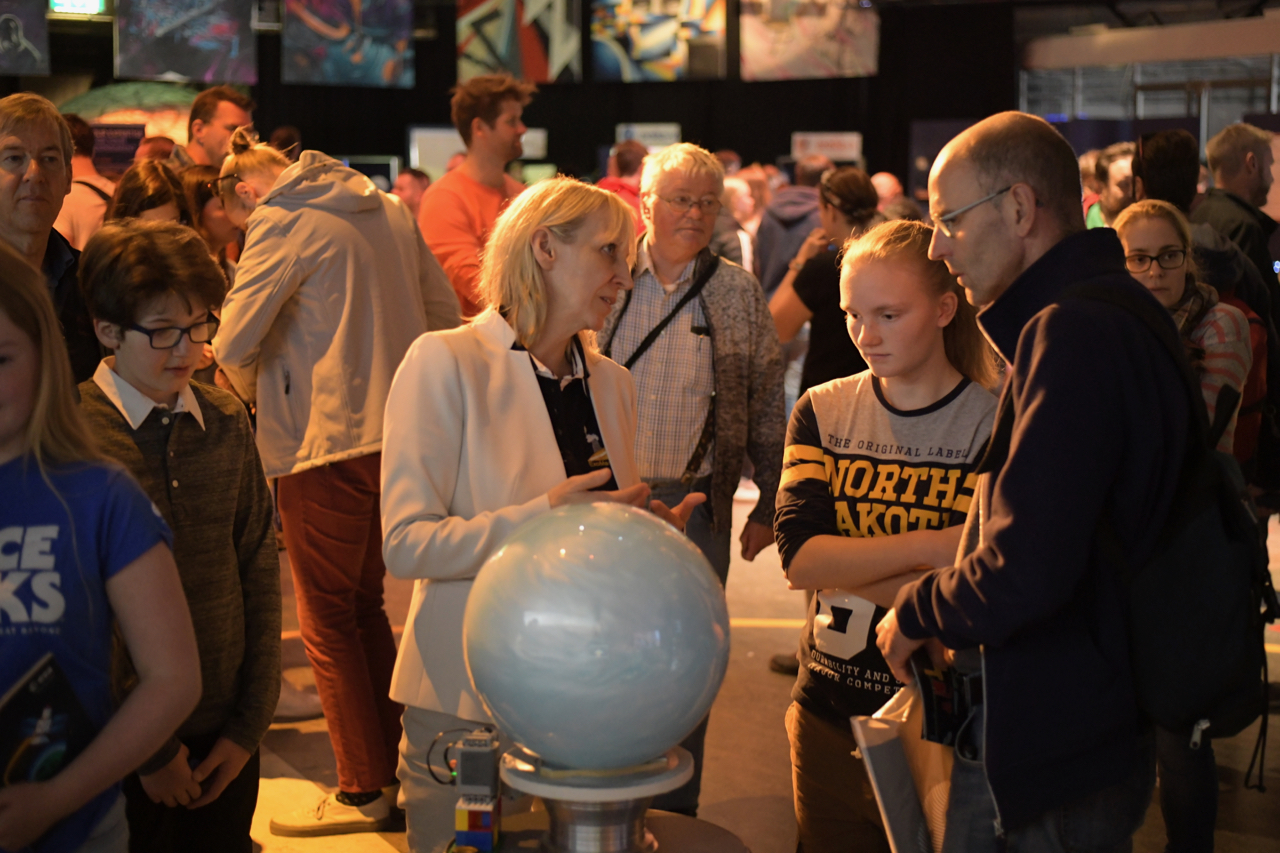
Our lab planet has been a real success during our outreach campaigns, more than we anticipated! We have had already a number of open days here at the Observatory, as well as in the Brussels Planetarium and last year we took the device to the annual open door day at the European Space Agency’s centre in Noordwijk, the Netherlands. During these sessions we engage a general audience and discuss various topics related to fluid dynamics at the planetary scale.
Teaching with the lab planet at an Open Day public outreach event at the Royal Observatory of Belgium.
The lab planet is a reality thanks to Antony Trinh, Jeremy Rekier, Santiago Andres Triana, the technical service at the Royal Observatory of Belgium, and of course the DIYnamics team for their brilliant idea!
Flows generated in the lab planet by slightly slowing down the rotation rate.
[1] Borrero-Echeverry, D., Crowley, C. J., & Riddick, T. P.(2018). Rheoscopic fluids in a post-Kalliroscope world. Physics of Fluids, 30(8), 1–6. https://doi.org/10.1063/1.5045053