- Tue 27 August 2019
- Field Reports
- Alex Gonzalez
- #field-reports, #guest-author, #university-teaching
[Note from Spencer: This post is part of our ongoing Field Reports series, where DIYnamics users across the country (and one day, the world) share how they’ve used the DIYnamics kit and materials in their local communities.]
Video footage by Prof. Gonzalez of a beautiful demonstration of Ekman transport. Near solid boundaries, such as near Earth’s surface for the atmosphere, the ocean floor, and the bottom of the tank ifor the DIYnamics table, friction with the solid surface changes how the fluid flows compared to far away from the surface, where friction can be mostly ignored.
I purchased and built a DIYnamics rotating tank and used it in my undergraduate Dynamics I course at Iowa State University (ISU) during the 2019 spring semester. Six experiments were conducted throughout the semester: 1) Solid body rotation, 2) Dye stirring/Rossby number, 3) Baroclinic eddies, 4) Taylor Proudman effect, 5) Fronts, and 6) Ekman layers. I led the first experiment on solid body rotation while the other five experiments were co-led by one to three students in the class. The experiments were quite successful overall and will continue to be used in dynamics and other courses at ISU.
Some highlights, including photos and videos, are shown below. Some issues to address for future improvement are also discussed. Any feedback would be greatly appreciated!
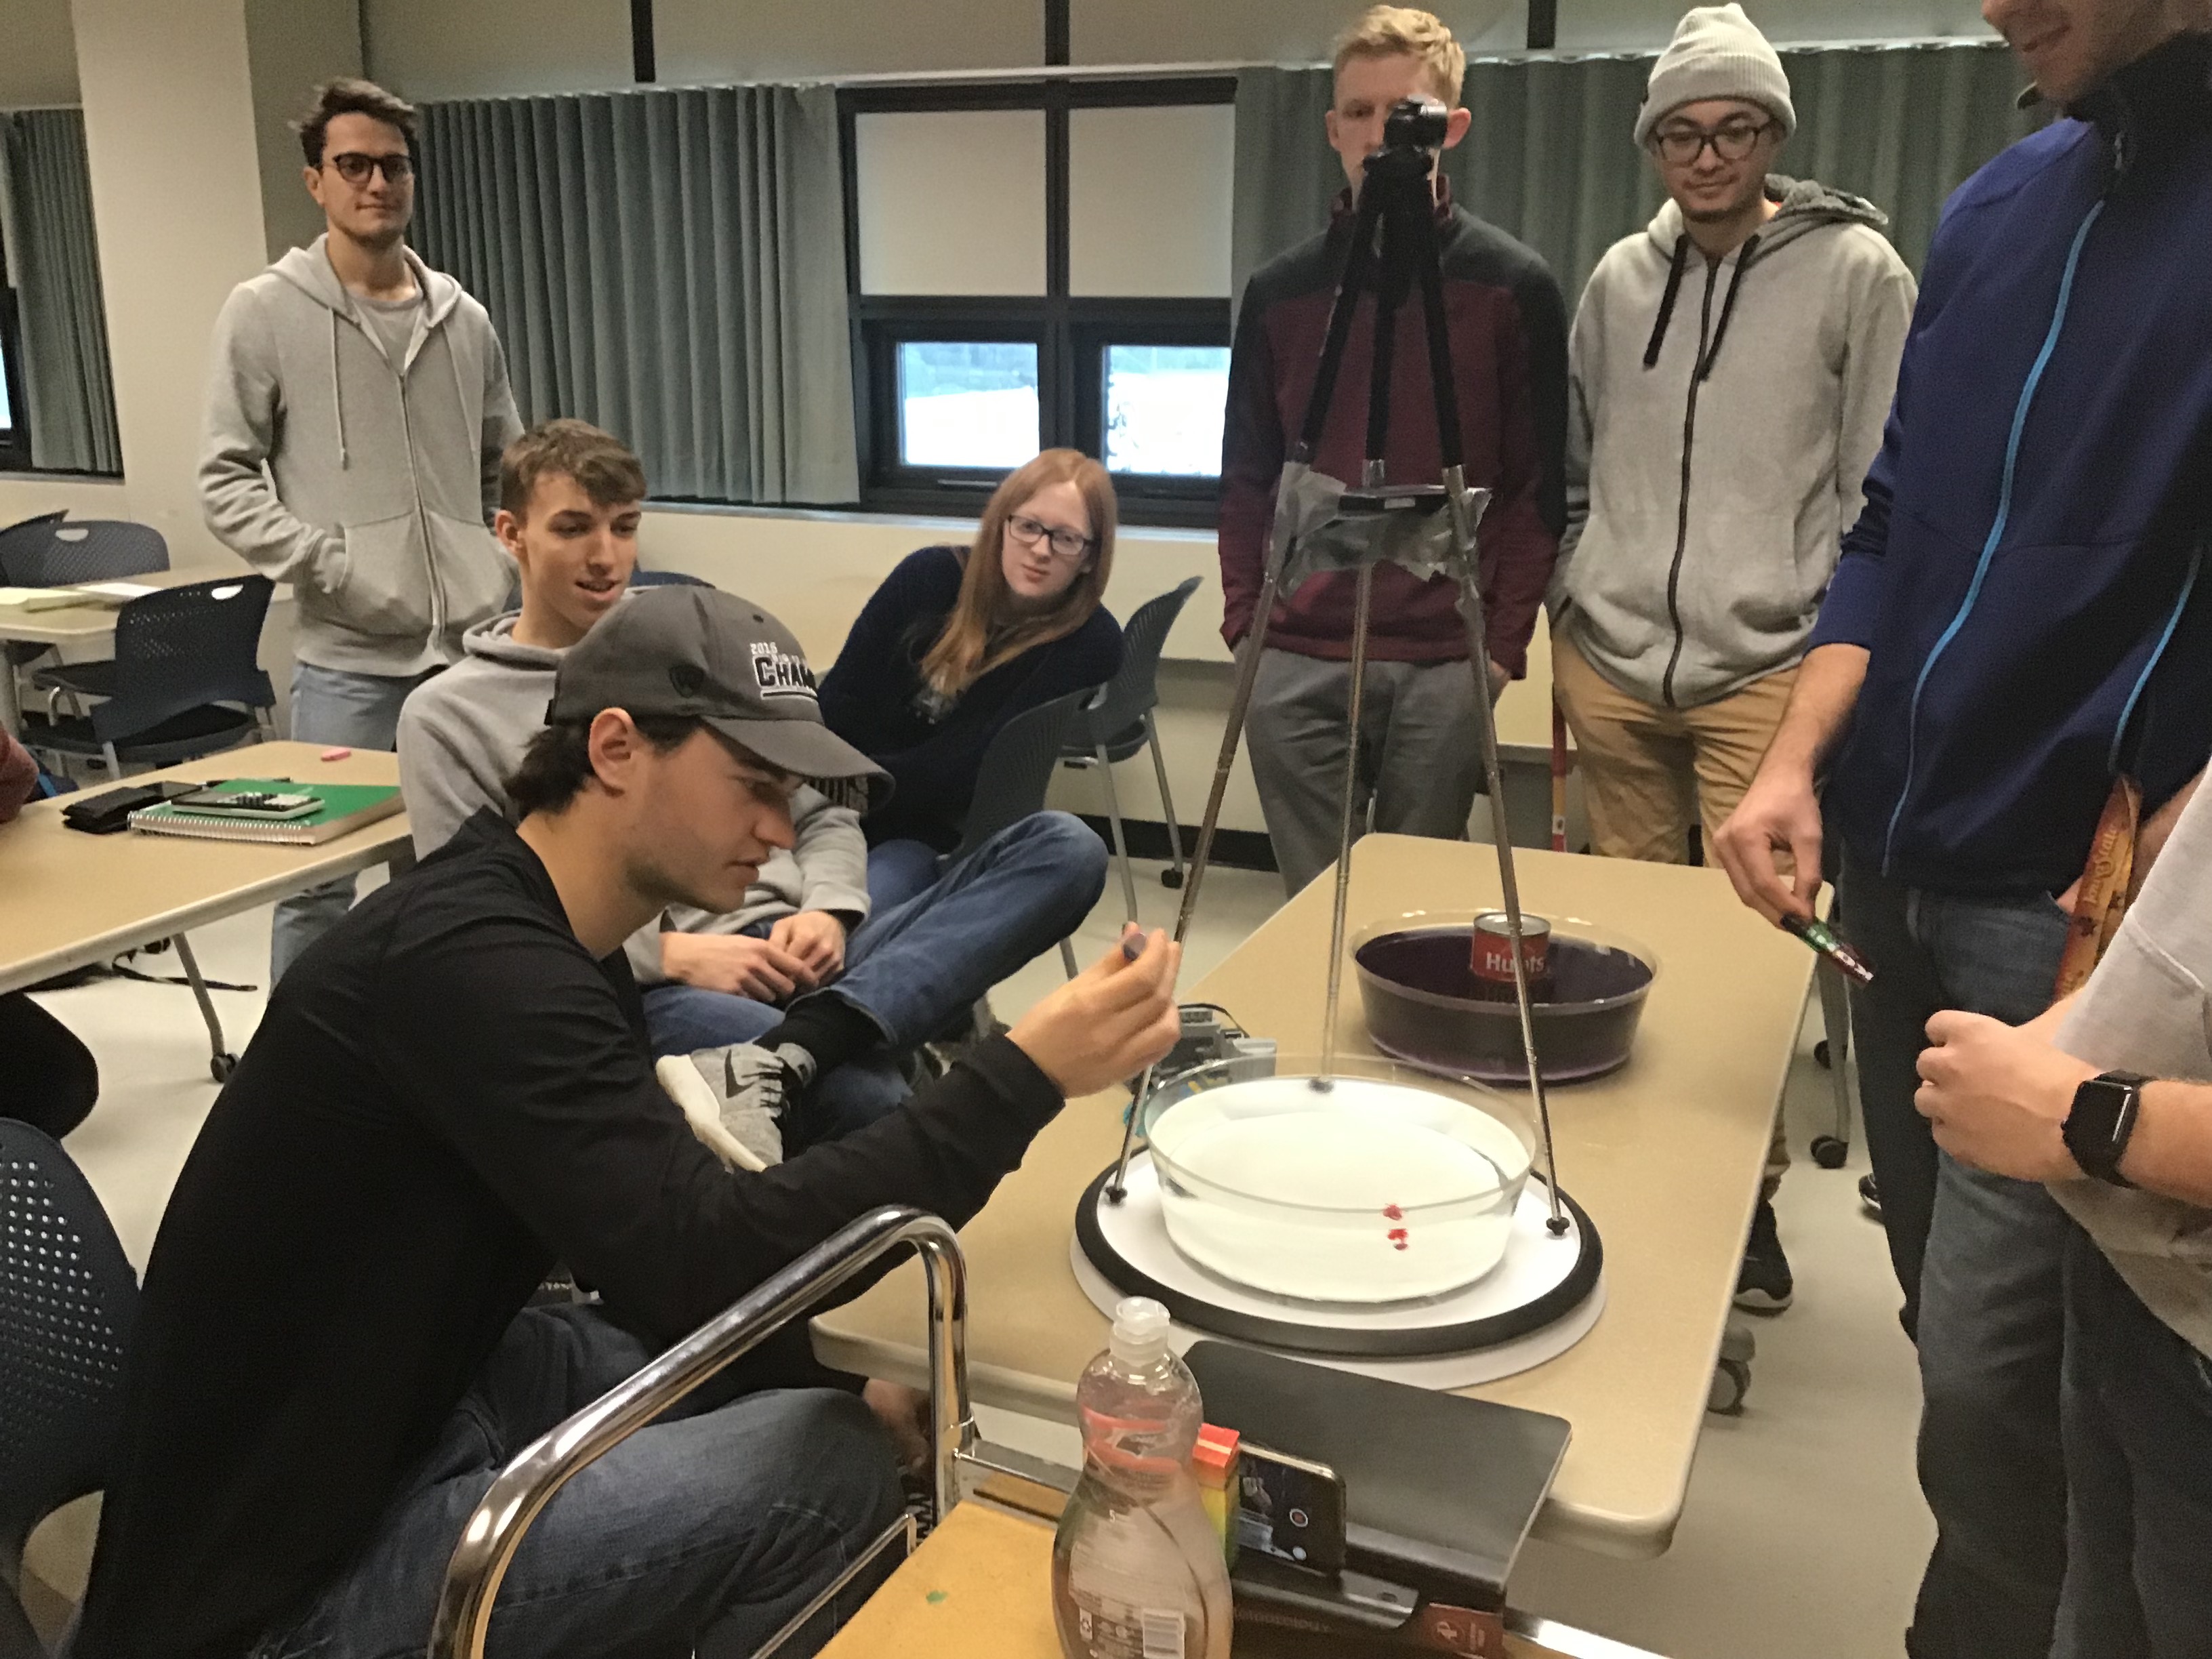
Students awaiting (and one performing) the solid-body rotation demonstration on the DIYnamics table.
Baroclinic eddies (no photos): The baroclinic eddies experiment was not as successful as the others due to the lack of a flat bottom on the rotating tank and possibly the use of a too small of a cold can at the center. Anyone else have similar problems?
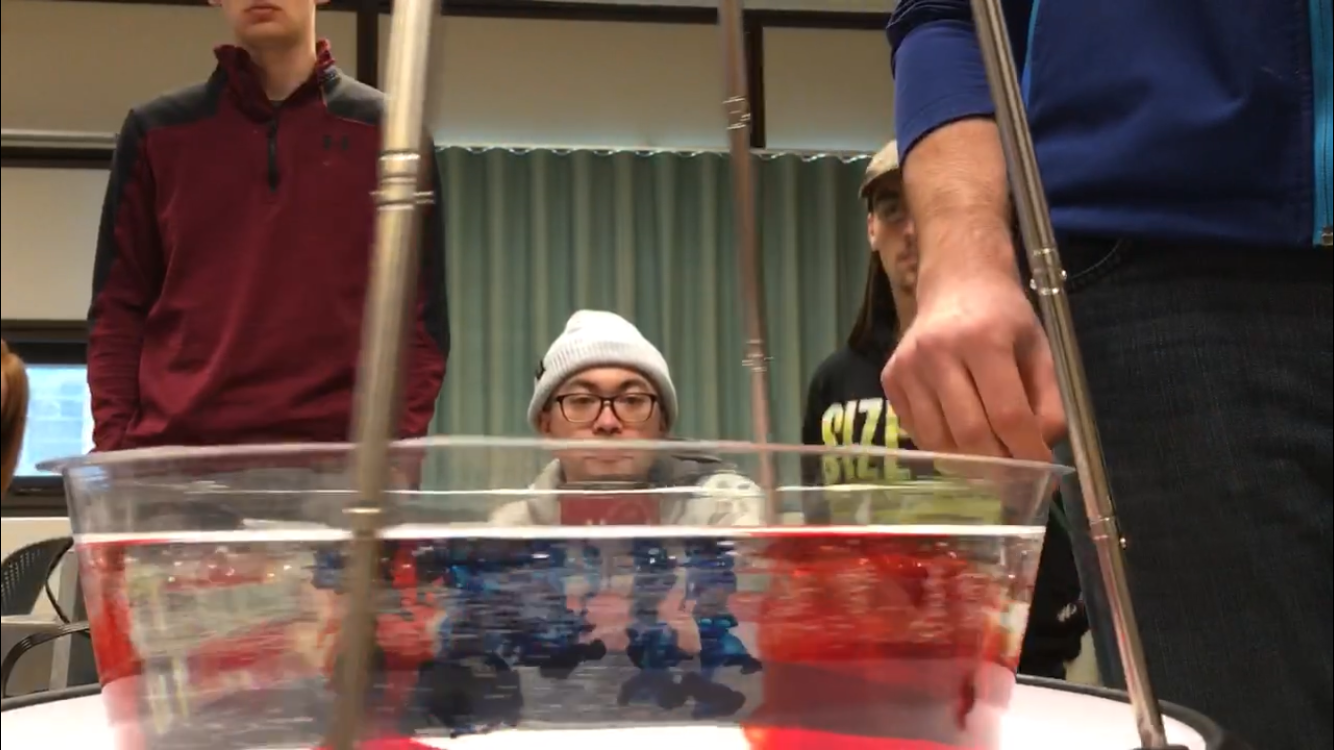
Side view of the solid-body rotation demonstration. Notice the dye sinking basically straight down to the bottom, with little horizontal movement. That means there’s no relative fluid flow: all of the water is rotating at the same rate as the tank. As if it were a “solid body”. Get it?
Lack of flat bottom: One student constructed a flat bottom for one of the two tanks that worked quite well for the experiments but over the semester the bottom absorbed water so a more solid flat bottom is planned to be constructed in the future. Any ideas out there for how to do this affordably?

An overhead photo of a Taylor column demonstration. A thin metal puck is placed at the bottom of the tank, and after solid-body rotation is reached, dye is injected and the rotation rate is decreased. This causes the dye to move toward the puck. But, rather than just going over it, the dye gets deflected around —- as if the puck extended all the way to the surface.
Fronts (aka the “slumping dye cylinder”): The fronts experiment was the most difficult experiment to execute due to the fact that the salty dyed water in the center kept leaking slightly into the exterior fresh clear water. We tried several methods and the one that worked best was to use A LOT of petroleum jelly to seal the bottom and prevent leaking (following MIT’s weather in a tank) but it still leaked. Additionally, the can was removed possibly too abruptly and induced extra momentum. Any suggestions for how to get a better seal?