Maintaining a level tank is key when performing experiments with rotating tank platforms. A tank is level when its bottom is oriented parallel to the horizontal plane and off-level when oriented at an incline. Note that the horizontal plane refers to the plane perpendicular to the direction of gravity. Various aspects of an experimental setup can introduce an incline — angled table, slanted floor and more. The inconsistencies cumulatively result in a fluid layer of different heights in different parts of the system.


(L) Level versus (R) off-level tank. Notice that the fluid layer in the level tank is of consistent height throughout the system. Meanwhile, the fluid layer in the off-level tank is higher to the left compared to the right of the system.
Off-level tanks are detrimental for experiments because an unevenly distributed fluid layer creates an imbalance when rotating — akin to driving with a flat tire. As water shifts, the imbalance can result in artifacts such as surface waves. These unintended fluid motions detract from and disrupt the fluid motions of experiments.

Camera setup for rotating frame footage. The Technics Table has been outfitted with a Sidewall Tank and the camera is mounted in the rotating frame with a Gooseneck Camera Clamp. Learn more about the equipment on the DIYnamics Kits page.


(L) Level versus (R) off-level rotating frame footage. Notice that the dye in the level tank remains in place. The system is stable because it is in a state of solid body rotation — the fluid layer is spun up to the rotation of the system leading to zero movement within. Meanwhile, the dye in the off-level tank oscillates in a circular motion. Although spun up to induce a state of solid body rotation, the system is unstable because the imbalance caused by the unevenly distributed fluid layer leads to sloshing. The surface waves are detrimental because they can mask the fluid motions of the experiment in action. Note that 2X indicates that the clip is being played at twice its original speed and Ω indicates the rotation direction.
Here we describe how to level a tank. We will be focusing on its base — table, cart, etc. The goal is to adjust the base’s supports such that its surface is parallel to the horizontal plane. From there, a tank placed atop the surface will be level. Note that this guide is generalizable to different rotating tank platforms with adaptations based on equipment. The DIYnamics are of different shapes and sizes and thus, will involve different reference and adjustment points to level the tank.

Required equipment include a level and shims.
Step 1: Gather required equipment:
- Level
- Shims
Note that shims are thin and incompressible objects placed between other objects to adjust spacing. Purpose built shims can be purchased but a Do-It-Yourself solution includes finding household objects that are thin and incompressible such as playing cards.


(L) Level versus (R) off-level level readings. The location of the bubble describes the incline of the surface.
Step 2: Use the level to examine the incline of the surface. The location of the bubble indicates which side is higher than the other per an inverse relationship. A bubble skewed to the left indicates that the right side is higher than the left side and vice versa.


Shims are placed beneath supports (table legs) to adjust the incline of the surface (table top).
Step 3: Adjust the incline of the surface by placing shims beneath supports of the lower side. This serves to bring both sides to the height of the higher side.
Step 4: Repeat steps 2 and 3 until the surface is level — iteratively and incrementally make adjustments with shims until the bubble is stable at the center of the level.
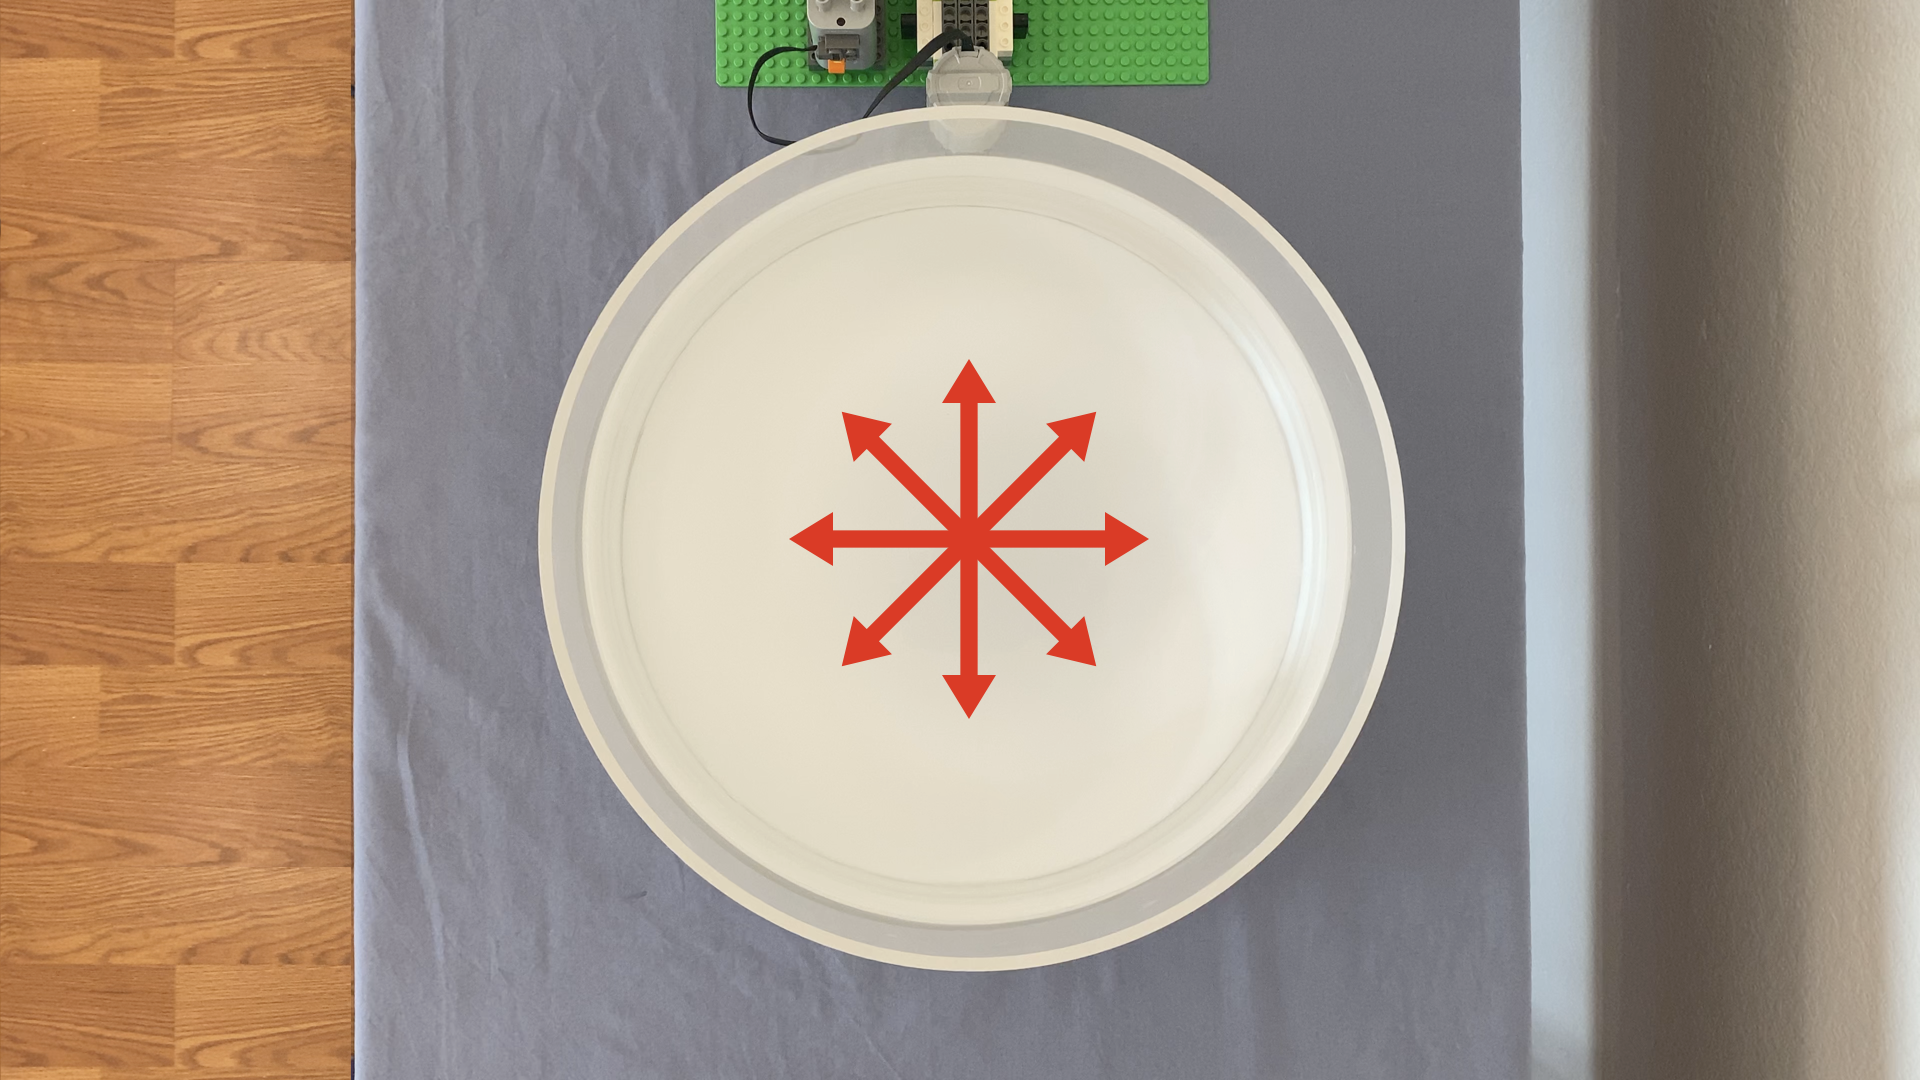
The level describes the incline of the surface along its lengthwise direction. Rotate the level to examine the incline in other directions — marked in red. If the level indicates no incline in multiple directions, the surface can be considered level.
Step 5: The tank may be off-level in multiple directions. Rotate the level and verify that the surface is level. If inclined, repeat step 4. Continue this process until the tank is level in multiple directions.
The surface is now level! A tank placed atop the surface will similarly be level.
If you have any feedback, please feel free to share with us via email at diynamicsteam@gmail.com or Twitter at @DIYnamicsTeam.