Experimenting with your own HT3 Table is fun and easy!
Already have your table assembled and working? Head over to the teaching page to learn how to incorporate it into the classroom. Otherwise, this page provides everything you need to know to order, build and operate one yourself.
What is the HT3 Table?

The HT3 Table is a specially designed system including a large rotating tank, lightweight frame, and multi-functional cart that is meant to optimize geophysical fluid dynamics demonstrations while remaining accessible and portable. This high-end device is ideal for demonstrating simple to advanced geophysical fluid processes, and can be easily stored and moved between locations. The custom tank is designed to maximize its diameter while still fitting through a standard door frame. The heart of the HT3 Table is the THC (Taylor-Henry Cart), a rolling cart designed to be low to the ground such that young children can easily watch demonstrations, and transportable between classrooms and buildings. Featuring large locking casters and an adjustable handlebar, the cart is comfortable to push along a variety of terrain, and when the wheels are locked, the handlebar stows under the table to allow for 360 degrees of view.
How to Order and Build the HT3 Table
Here we describe the steps to buying components for and assembling the HT3 Table.
Order Sheet PDF
This PDF contains all the required parts to assemble the HT3 Table. Both the cart and the frame are machined from MiniTec such that they do not require any power tools to assemble. Since the tank is sizeable and costly to ship, its schematics are provided so that you can reach out to local acrylics shops for fabrication if desired.
HT3 Frame Instructions PDF
This PDF details the construction of the HT3 Frame including the required tools.
THC Instructions PDF
This PDF details the construction of the THC including the required tools. In addition, an instruction video is available below walking you through the steps outlined in the manual.
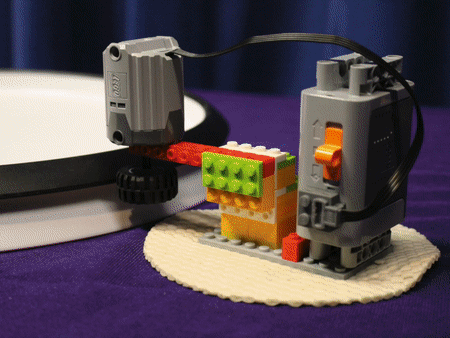
In order to safely operate the HT3, it is recommended that you detach the turntable controls from beneath the turntable. The instruction video below details how to install the servo extension cable to allow you to operate the HT3 without crouching beneath the tank.
Recommended Parts
In addition to the required components outlined in the order sheet, we also recommend the following items:
Note that these are just recommended sources, these items can be found through a variety of retailers.
Operating the HT3 Table
Here is a video detailing how to use the HT3 Table.
Helpful Tips
Here are helpful tips when using any of the DIYnamics Kits. We greatly value feedback and contributions from the DIYnamics community to help refine our devices and experiments. If you have any suggestions, please feel free to share with us via email at diynamicsteam@gmail.com or Twitter at @DIYnamicsTeam.
Check out helpful tips here
Learning and Teaching with the HT3 Table
Once you have your table assembled and operating, head over to our teaching page to learn how to use the table to perform some demonstrations and to incorporate them into an effective teaching module.
New videos of a variety of experiments and demonstrations being done with the HT3 are available on the DIYnamics Team YouTube channel.